Angular decided to drop the '@', '&' and '=' in version 2.0. If you don't know what they do: good for you! To me, the @&= concept was among Angular 1's worst choices. Luckily, in Angular 2 the communication between components is a lot more explicit and easier to understand. In this post I'd like to show you how to pass data to and from a nested component in Angular 2.
Note: The examples in this post use Angular 2 Alpha. There were some changes in the final release, so dome code might work a bit different now. I'll try to keep it up to date.
Building a Nested Component
We can simply add a nested component by using a component as a directive within another component.
Let's first create a basic component that will be nested in another component later on. This components has a
title property that we use in its template:@Component({
selector: 'child-selector',
template: 'child.component.html'
})
export class ChildComponent {
title = 'I\'m a nested component';
}
The
child.component.html is just an HTML file that shows the value of the title property:/* child.conponent.html */
<h2>{{title}}</h2>
Now we want to create a container component. It looks almost identical to the nested component, except we have to specify that we want to use the nested component. We do that by adding the
ChildComponent to the directives property of the Component decorator. Without doing this, the ChildComponent can not be used.@Component({
selector: 'parent-selector',
template: 'parent.component.html',
directives: [ChildComponent]
})
export class ParentComponent { }
The container component uses the nested component by specifying its directive in the template:
/* parent.component.html */
<div>
  <h1>I'm a container component</h1>
  <child-selector></child-selector>
</div>
Now, when we run our code we see something like this:
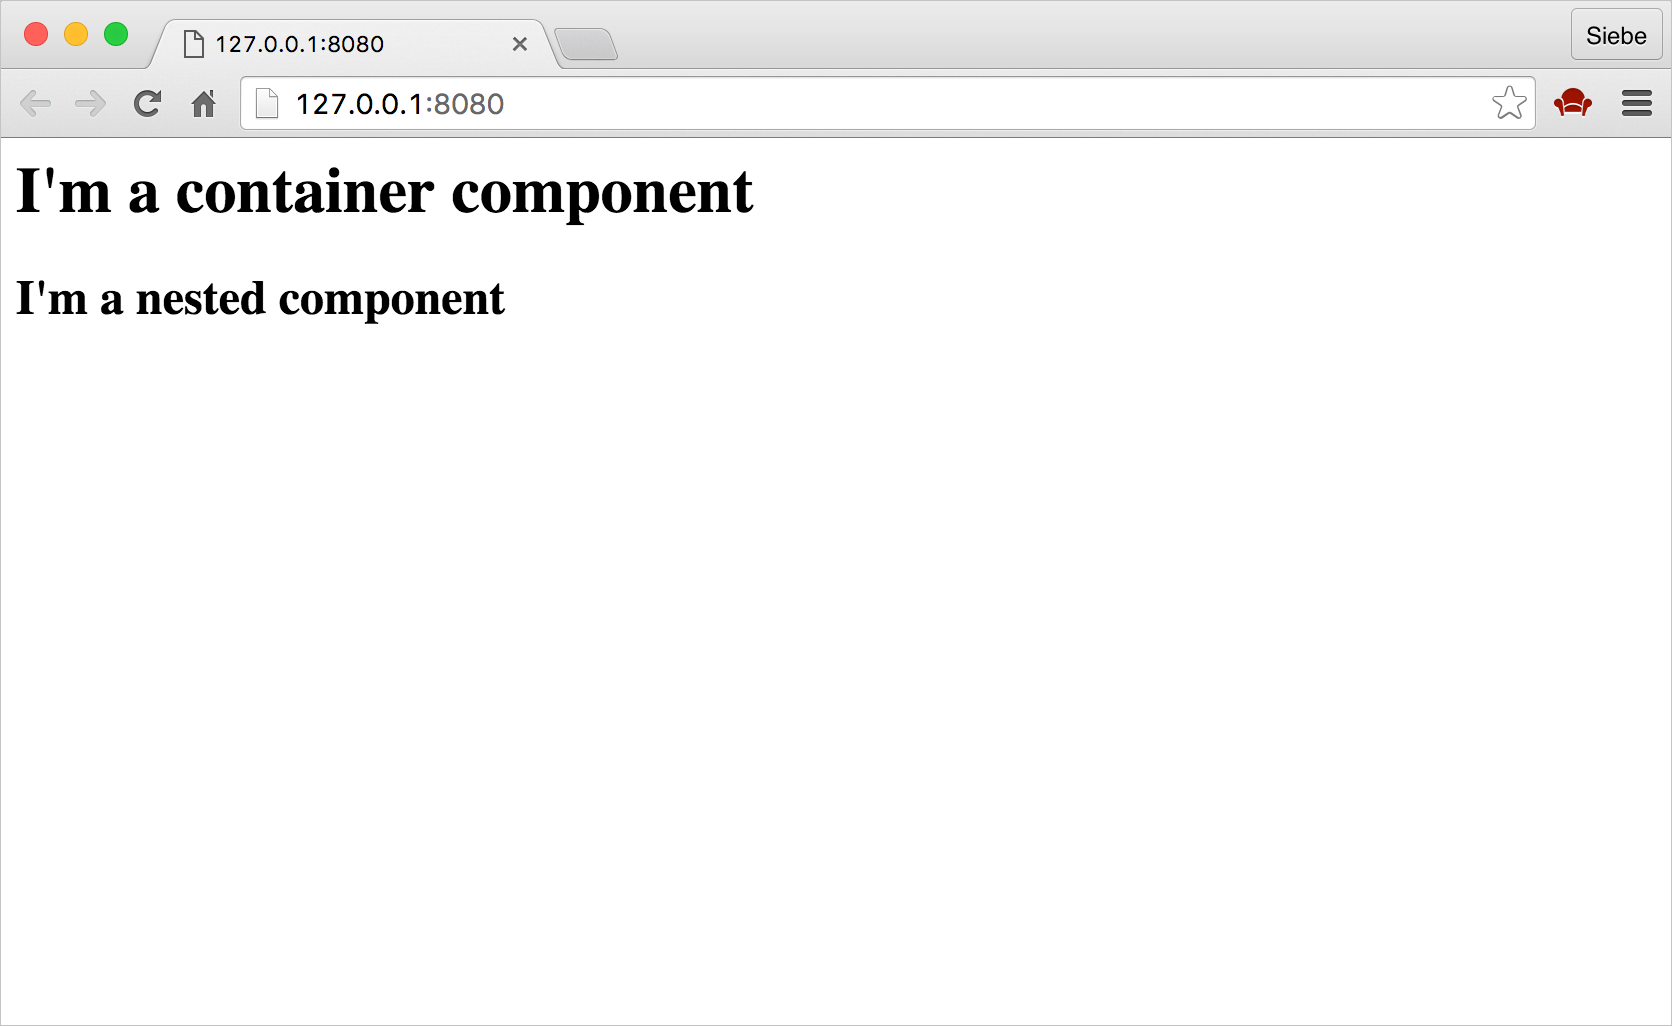
Nothing too fancy yet. Let's pass some data to the nested component!
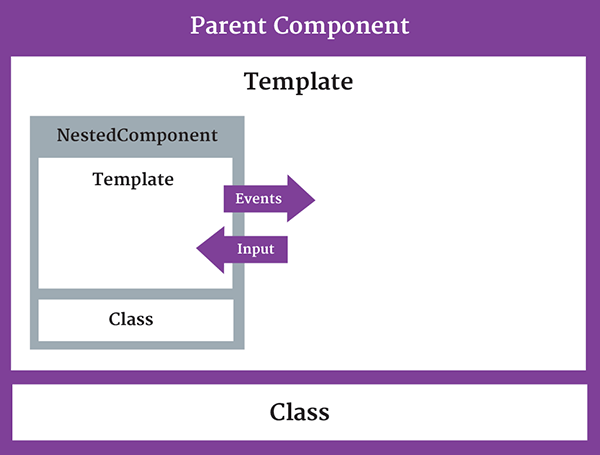
Passing data to a nested component
If a nested component wants to receive input from its container, it must expose a property to that container. The nested component exposes a property it can use to receive input from its container using the @Input decorator.
We use the Input decorator to decorate any property in the nested component class. This works with every property type, including objects. In our example, we'll pass a string value to the nested component's
title property, so we'll mark that property with the @Input decorator:@Component({
selector: 'child-selector',
template: 'child.component.html'
})
export class ChildComponent {
@Input() title:string;
}
Now our nested component is ready to receive input from its parent component.
In the container component, we need to define the property we want to pass to the nested component. We call it
childTitle:@Component({
selector: 'parent-selector',
template: 'parent.component.html',
directives: [ChildComponent]
})
export class ParentComponent {
childTitle:string = 'This text is passed to child';
}
Now the container component should pass the value of
childTitle to the nested component by settings this property with property binding. When using property binding, we enclose the binding target in square brackets. The binding target refers to the title property of the nested component. We set the binding source to the data that the container wants to pass to the nested component, which is childTitle./* parent.component.html */
<div>
<h1>I'm a container component</h1>
<child-selector [title]='childTitle'></child-selector>
</div>
The only time we can specify a nested component's property as a property binding target, is when that property is decorated with the @Input decorator, like we did earlier.
When we run our code, we should see the passed value in the nested component's H2 element:

In this example we only exposed one input property, but of course you can expose multiple input properties as needed.
Passing data from a Nested Component
In the previous example I showed how the container can pass data to the nested component by binding to a nested component's property, that is declared with the @Input decorator.
If the nested component wants to send information back to its container, it can raise an event. The nested component exposes an event it can use to pass output to its container using the @Output decorator.
Like with the @Input decorator, we can use the @Output decorator to decorate any property of the nested components class. However, the property type must be an event. The only way a nested component can pass data back to its container, is with an event. The data to pass is called the event payload. In Angular, an event is defined with an EventEmitter object.
So let's start by creating a new instance of an Event Emitter and decorate the property with the @Output decorator.
So let's start by creating a new instance of an Event Emitter and decorate the property with the @Output decorator.
@output() notify: EventEmitter<string> = new EventEmitter<string>();
If you're not familiar with generics, this syntax may look a bit odd to you. Generics allow us to identify a specific type that the object instance will work with.
The generic argument,
string, identifies of the event payload. So now we can only pass string values to the container. If we would want to pass a integer for example, we'd write something like this:@output() notify: EventEmitter<number> = new EventEmitter<number>();
Although not recommended, you can let it accept any type. You can use TypeScript's
any type. We'll stick with a string for now. Please note that JavaScript does not support generics by itself; it's a TypeScript feature. I've personally only played with generics in C# a bit, and I think the concept is fairly new to the Javascript community in general.
Now we've got an event emitter in place, let's use the
notify event property and call its emitmethod to raise the notify event and pass in our payload as an argument.this.notify.emit('payload');
We'll need a user interaction that will raise the event, so I'll add a link that will do so.
/* child.component.html */
<h2>Hi, I'm a nested component</h2>
<span (click)='onClick()'>Click me please!</span>
Now we'll add the click event handler to the component, and raise the
notify event:@Component({
selector: 'child-selector',
template: 'child.component.html'
})
export class ChildComponent {
@output() notify: EventEmitter<string> = new EventEmitter<string>();
onClick() {
this.notify.emit('Click from nested component');
}
}
So every time a user clicks on the 'Click me please' link, the nested component will dispatch an event to its parent component.
The parent component receives that event and its payload. We use event binding to bind to this
notify event and call a method./* parent.conponent.html */
<div>
<h1>I'm a container component</h1>
<child-selector (notify)='onNotify($event)></child-selector>
</div>
We have to pass the
$event to the handler because that variable holds the event payload.
The only time we can can specify a nested component's property as an event binding target is when that property is decorated with the @Output decorator.
Our final step is to provide the
onNotify method to execute when the notify event occurs. Since the event payload is a string, the onNotify function takes in a string. We can perform any desired action in our handler, but for now let's just alert the payload.@Component({
selector: 'parent-selector',
template: 'parent.component.html',
directives: [ChildComponent]
})
export class ParentComponent {
onNotify(message:string):void {
alert(message);
}
}
So now we should see an alert with the text from the nested component:
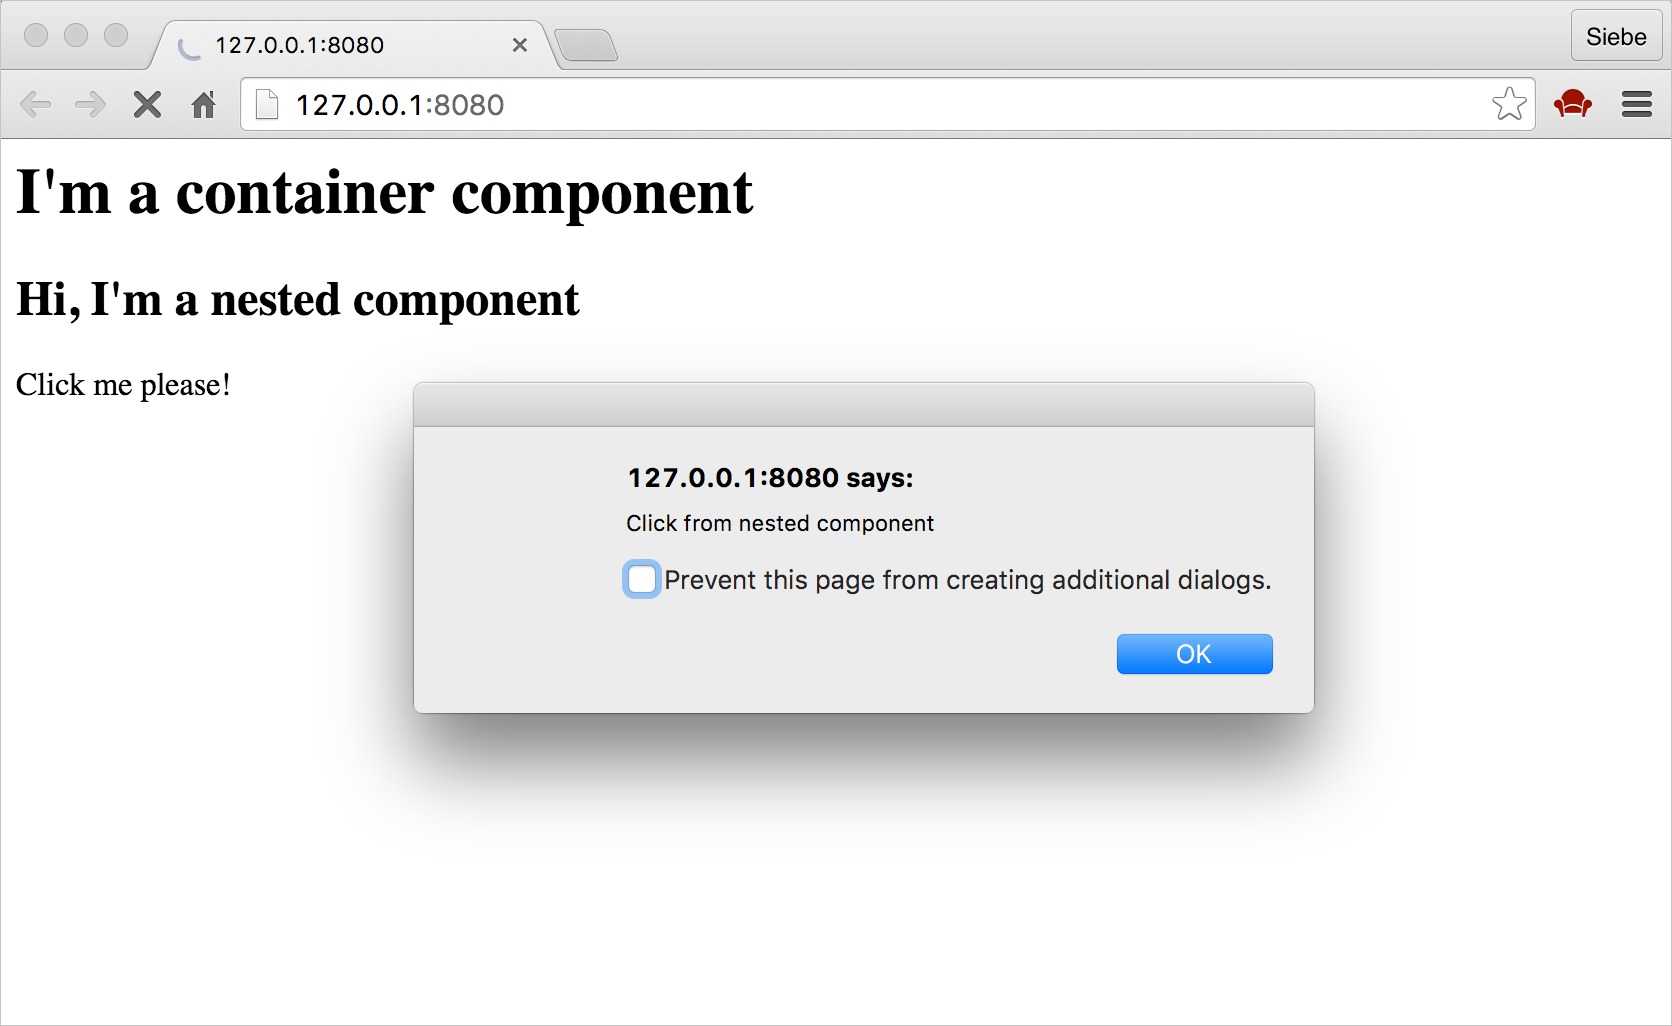
Awesome.
To me, it's a great choice of the Angular team to drop the '@', '&' and '=' concept in version 2.0. The new way is far more declarative, simple and explicit. And I like it! Although I'm still a React fan, these improvements in Angular 2 make me want to play around with it some more and maybe even try it out in a real case some day.
You have just read an article that categorized by title Angular /
Interview Question
by title What is @Input and @Output in Angular2 ? passing data from One component to Other.. You can bookmark this page with a URL https://bikeshsrivastava.blogspot.com/2017/08/what-is-input-and-output-in-angular2.html. Thank You!
Author:
Bikesh Srivastava - Tuesday, August 1, 2017


Awesome
ReplyDelete